Homemade Bagels!

Halleluyah! That’s all I have to say about that.

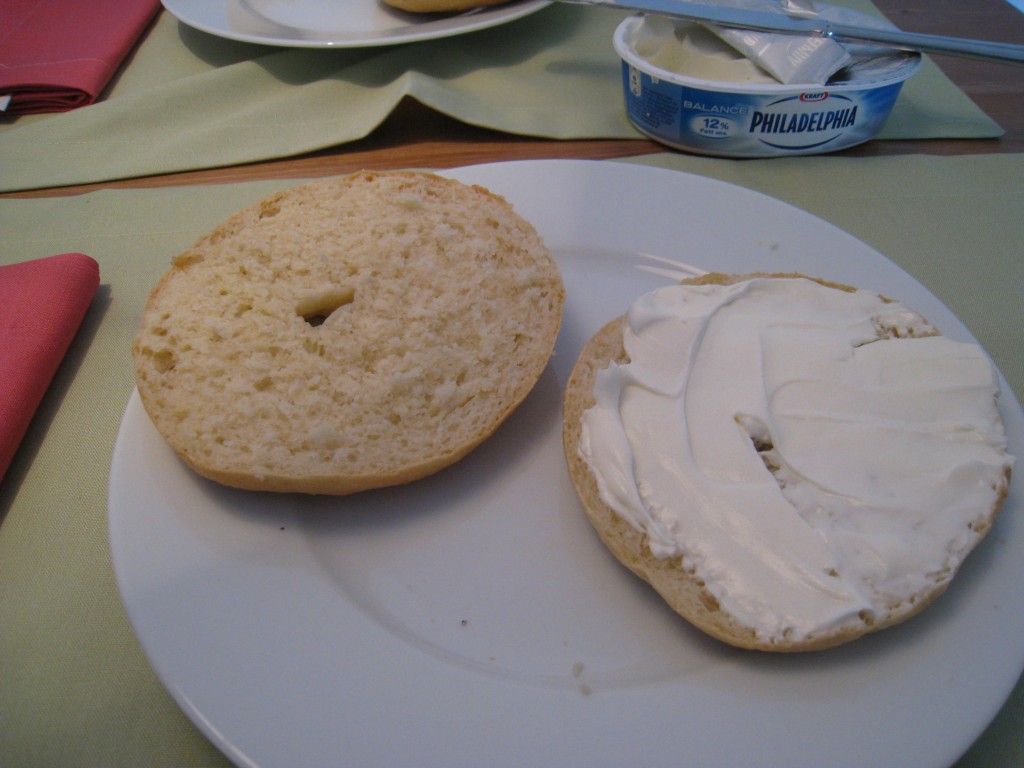
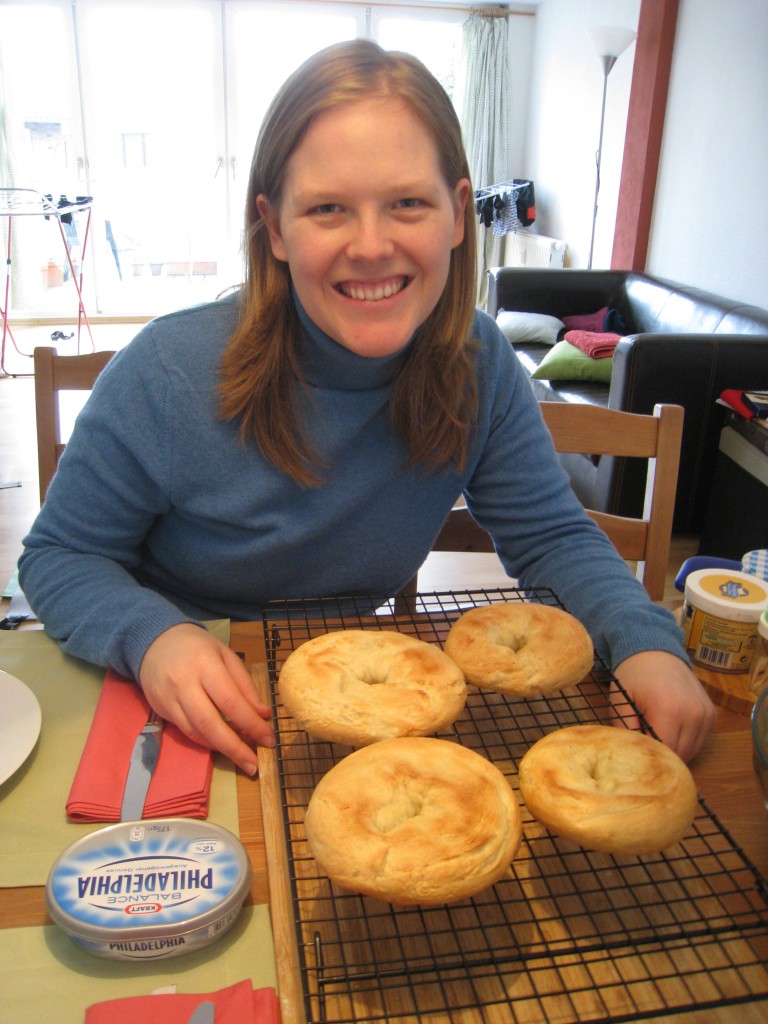
As you know, Germany has an abundance of fresh baked bready items, but I have yet to find anything resembling a bagel. Oh how we have missed warm, toasty bagels with melty cream cheese slathered on top. So, being the resourceful (and food loving) girl that I am, I decided to try my hand at bagel making. And it worked! Very well!

It was much easier than I imagined, and don’t let the boiling part scare you. This is totally worth the effort, especially if you have…hmmm…say a fancy schmancy cappuccino to go with it.

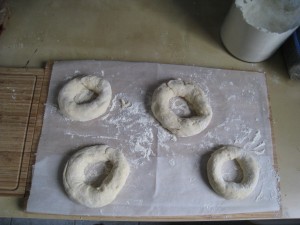
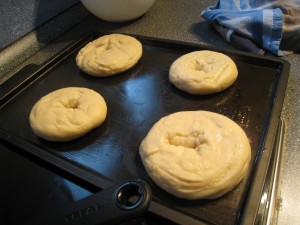
I found the recipe here on Tasty Kitchen, and it made four bagels. After making the dough and letting it rise for 25 minutes, I made four ropes and turned those into circles. As you can see, they have pretty large holes in the middle, but that’s because you have to let them rise again.

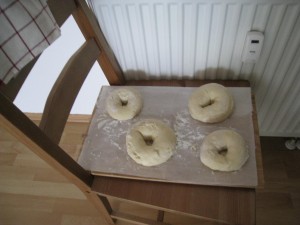
I think you only need to let them rise another 20-30 minutes, but we took advantage of the fact that the rain had stopped and went for a walk into town. When we got back, an hour and a half or so later, they were looking much more bagel-ey.

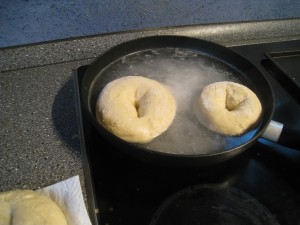
Then I just boiled them in a pan for a minute on each side. The tricky part was flipping them. Maybe next time I will use a deeper pot, but I was worried they would get stuck together if it wasn’t wide enough.

After boiling them, I baked them for 18 minutes at 200 C, flipping them over half way through.

I am SO PROUD! Can you tell from my big smile? Luckily they tasted as good as they looked. Milo’s very words were “Mmm, these are really good!” I think he was skeptical about my bagel making, but in the end it worked out great!
 

Pancake Day!

This past Tuesday was Pancake Day! Traditionally on Shrove Tuesday (the day before Ash Wednesday) people ate pancakes to use up eggs, sugar, and fat before the Lenten fast. Somehow, I never knew this until a few weeks ago. Considering pancakes are one of my favorite foods, I absolutely had to make some for dinner.

I decided to make some Croatian-style Palachenka, which are basically like crepes. Except now I know the secret to making nice and thin and lump-free pancakes. Let me show you:

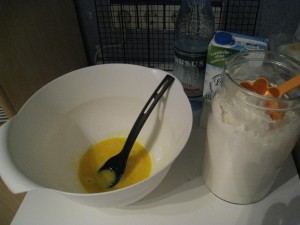
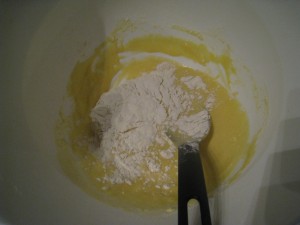
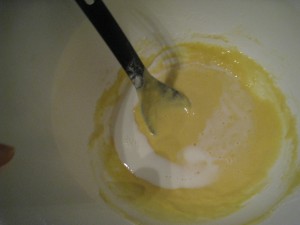
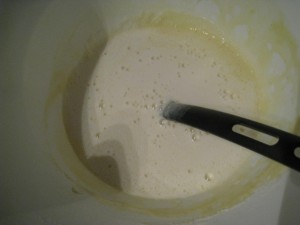
Start out by beating two eggs and try to get some air whipped in there. Then sprinkle in some flour a little bit at a time, mixing completely after each addition (about 1/4 cup at a time). Keep adding and mixing and adding and mixing, making sure you smush out any lumps as you go.

Once it starts to thicken up, add milk a bit at a time, mixing in thoroughly as you go. You can sprinkle in a bit more flour, depending on how many pancakes you want to make. But for smooth pancakes, its important to mix the flour into minimal liquid and then thin it out to the right conistency. In the past, I always mixed the eggs into the milk, then dumped in the flour all at once, and then it is quite difficult to get the lumps out.

The secret ingredient is mineral water – that’s right the bubbly kind. Pour in half a cup or so, watch it fizzle, and then mix it in. Let the batter rest for at least a half hour or so.

Probably if you make crepes often, you know how awesome it is to have a cast iron crepe pan. Unfortunately my crepe pan is in Fairfield, but my non-stick (cheap, thin) pan works pretty darn well. I heat up my pan to medium-highish, and before each pancake add a tiny drip of oil. Then using a ladle, add a very small amount of batter and swirl the pan so that it thinly and evenly coats the pan. Too-thick batter or too much batter makes for a soggy crepe.

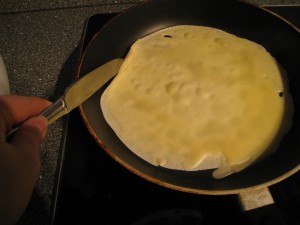
In the past, in addition to working with lumpy batter, I always managed to rip or rumple or generally deform my crepes on the flip. Not any more. There is a really easy way to flip them.

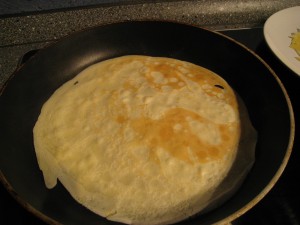
Once they start to set, run a butter knife along about a six-inch portion of the edge, just enough so that it comes off the pan. Then, using your fingers, gently grab the crepe on one side and flip it and voila! Flipped over in one perfect piece!

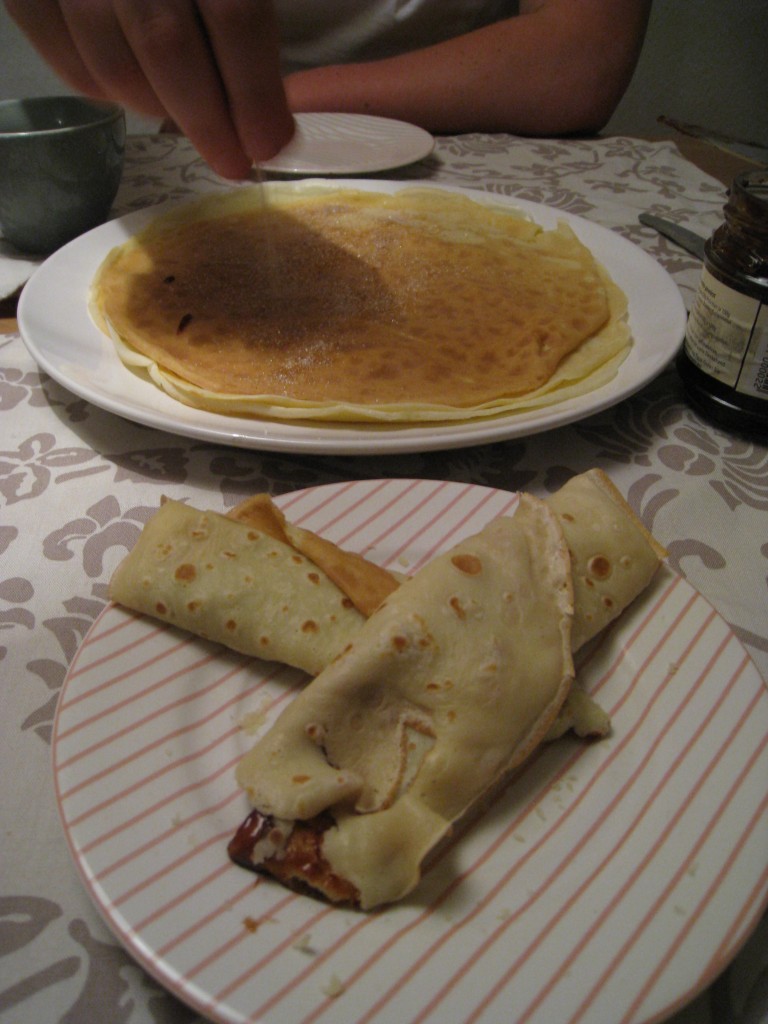
These are so versatile, you can add whatever you like and have a pancake party (you think I am kidding, but I am not). While we were in the kitchen we made a couple with aged white chedder melted in, sort of like a Croatian-Irish quesadilla. Then of course we had some with jam, cinnamon-sugar, and banana-nutella. Who doesn’t love pancakes?

 Happy pancaking and for the record, I did not give up sweets for Lent this year. I decided against it…you know like if I want to bake something sweet before Easter it would be problematic. So instead, I am giving up Croissants. That may not sound too difficult, but I have been known to bribe myself out of bed in the morning with the promise of an oven fresh croissant from the bakery on the way to work. At least I have still got my chai latte.

Scandinavian Cardamom Buns

Rosenmontag aka Shrove Monday is a huge fest here in Germany (especially Cologne where Karneval is THE thing of the year). So happily, since all my coworkers were busy partying I had the day off.  

As I mentioned during my tooth removal recovery, I found lots of fun food blogs and found some delicious looking Scandinavian recipes to make. I am not sure if this recipe for Finnish Pulla (or Bullar in Swedish) could be considered the traditional Shrove Monday Semla, but this sounds pretty similar:

“Today, the Swedish-Finnish semla consists of a cardamom-spiced wheat bun which has its top cut off and insides scooped out, and is then filled with a mix of the scooped-out bread crumbs, milk and almond paste, topped with whipped cream. The cut-off top serves as a lid and is dusted with powdered sugar. Today it is often eaten on its own, with coffee or tea.”

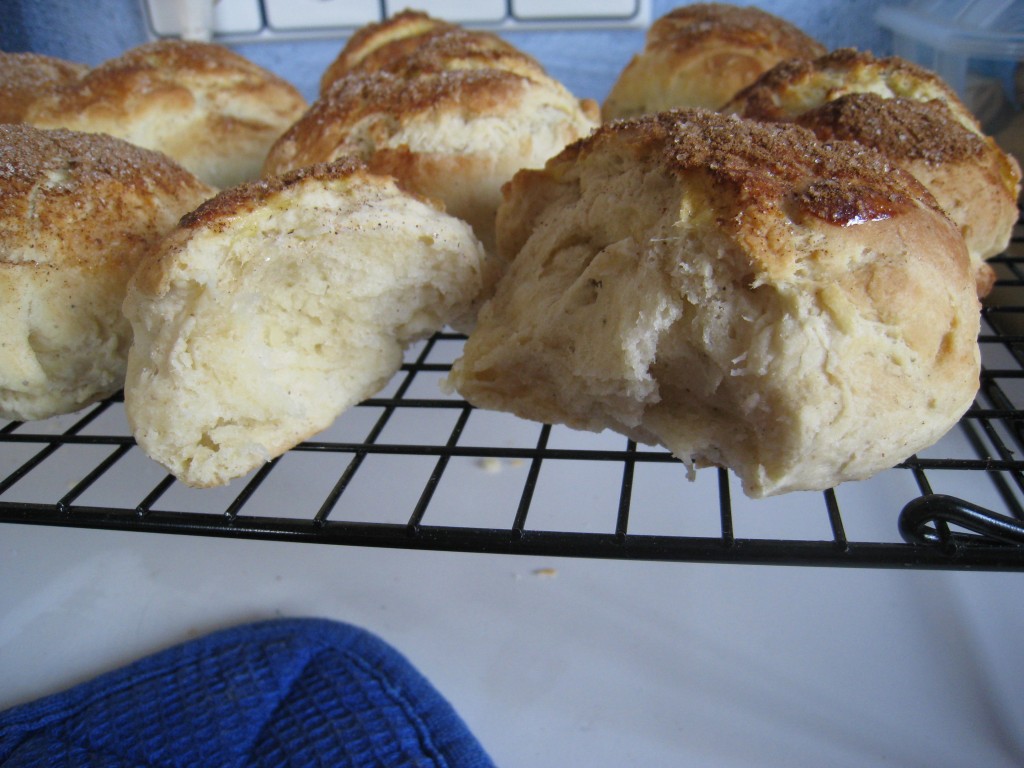
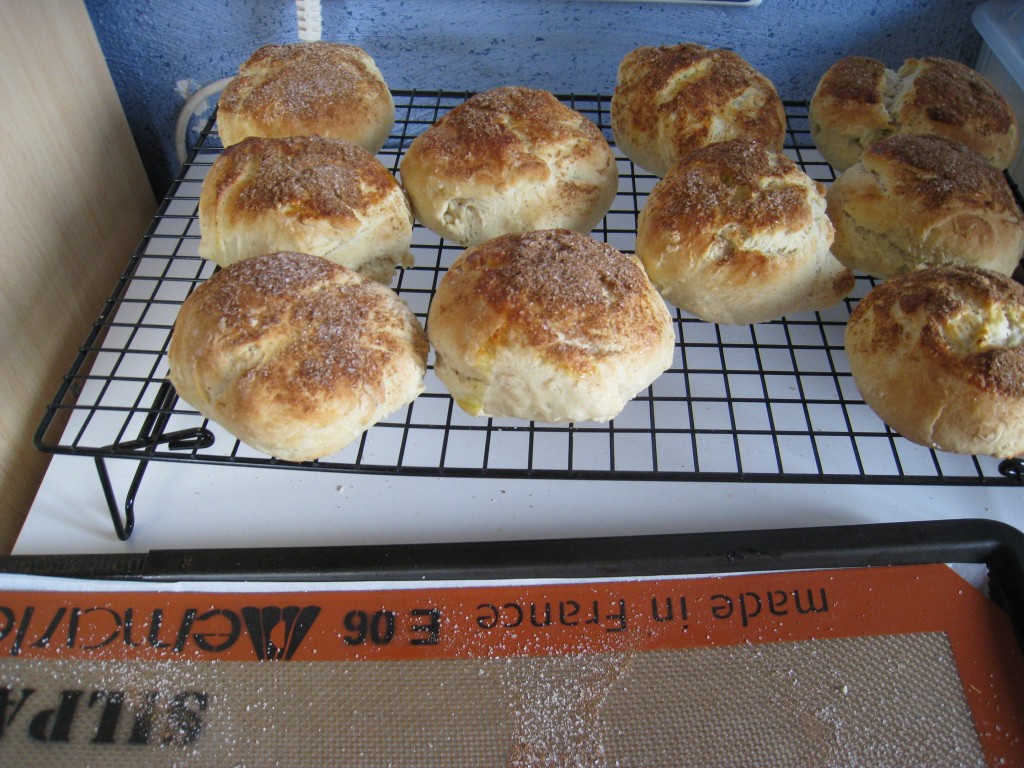
I skipped on the almond-whip cream filling, and unfortunately didn’t have spelt flour on hand, but they still tasted great and I am considering them Shrove Monday buns anyways! I found the original recipe on Scandi Foodie, but here is the half-recipe I used and translated from Metric.

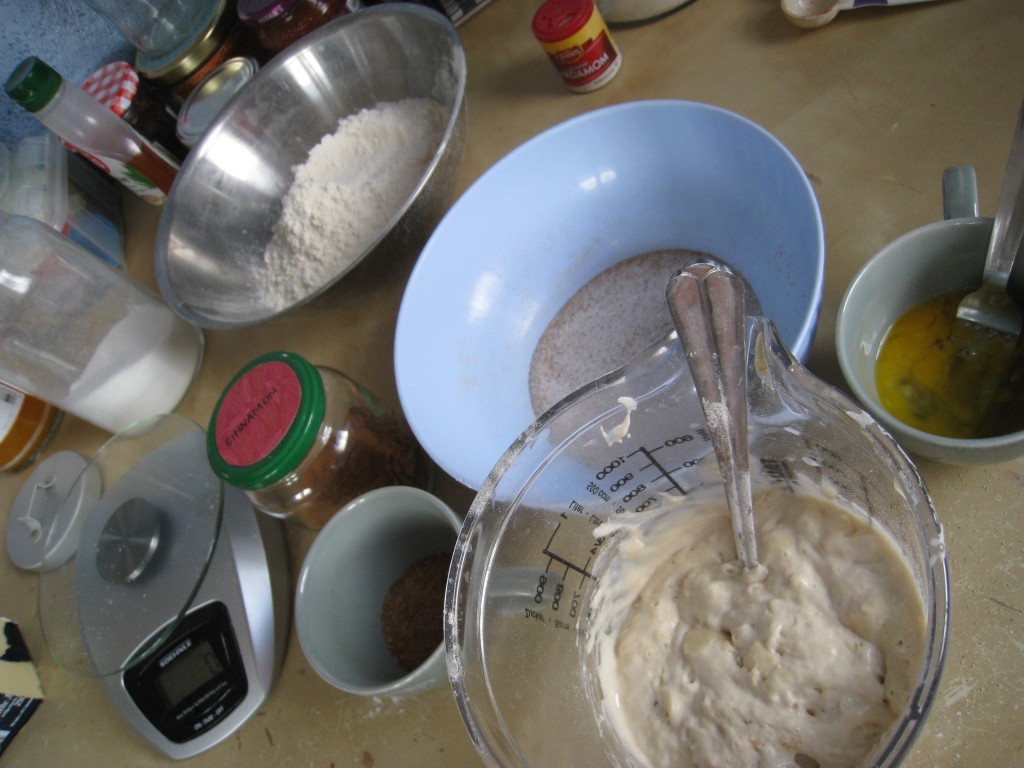
Starter: 1 cup warm milk, 1 heaped Tbs dry yeast, 1 Cup Flour: Mix together, cover, and leave for 20 minutes to get bubbly.

Mix together dry ingredients: 3 Tbs sugar, 1/2 Tbs cardamom, 1/2 tsp salt, 2 Cups flour. Knead the flour mix into the starter, and then work in 5 Tbs melted butter and half an egg (keep the other half for brushing the tops) and then just see how it looks, but I added about another 1/3 Cup flour.

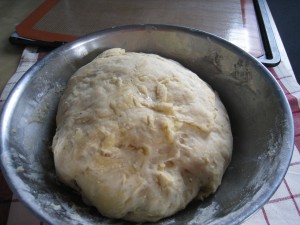
Cover and let it sit for 30 minutes. Roll into 10 buns and let them rise on the baking sheet another 20 minutes while you preheat the oven to 350F (180C). Brush tops with rest of egg and sprinkle with 1/2 Tbs cinnamon mixed with 1 Tbs sugar.

Bake for 15 – 20 minutes and let them cool on a rack. Or eat ’em while there hot. That is what we recommend!

Two new restaurants in one week! Thai and Ethiopian

This week we went out to eat twice, which is sort of a lot for us. On Tuesday we were shopping at the supermarket after work and we spontaneously decided to drive to Bonn. Hey, it was Valentine’s day after all. We tried a new place called Rueen Thai, which was pretty good food, although we had to wait FOREVER for our food to arrive. Milo’s Panang chicken curry was my favorite, because my Chili-lemongrass tofu was a bit too spicy for me, contrary to my expectations. It was after all “Thai food for Germans – not very spicy” per our waitress. I don’t think I would be able to handle real thai food. We left feeling satisfied, the food was good and fairly priced, although the service was so-so.

Today (Friday) we went to Bonn again and ate at Roha, which is an Ethiopian restaurant we discovered by chance as we were wandering around on Tuesday. Awesome decision! It was a nice atmosphere, the service was super friendly, and the food delicious. We shared the mixed plate for two, and it was the perfect amount of food. We felt satisfied but not stuffed. At the end of the meal we had traditional Ethiopian coffee brewed from freshly roasted (as in while we were eating) beans. This is the best Ethiopian restaurant we have been to and overall was a great dining experience. Then we realized the last time we ate Ethiopian food was a year ago at Restaurant Menelik off of Ave de Clichy in Paris. How did a year go by so fast?!


I am back!

Hi guys, I am back up and about! This morning I posted a couple things we tried last week, before my wisdom teeth came out. Needless to say, this week I ate a variety of mashed fruits, veggies, and scrambled eggs. Nothing exciting or new (except the banana-apple sauce and mango-apple sauce –ooh boy). Food is rather boring when you can’t really taste it and it’s always mushy.


All that laying in bed got a bit tedious, so I did peruse some cooking websites and bookmarked a bunch of things that I want to bake once I can chew again! Hopefully next weekend!

Celery Root

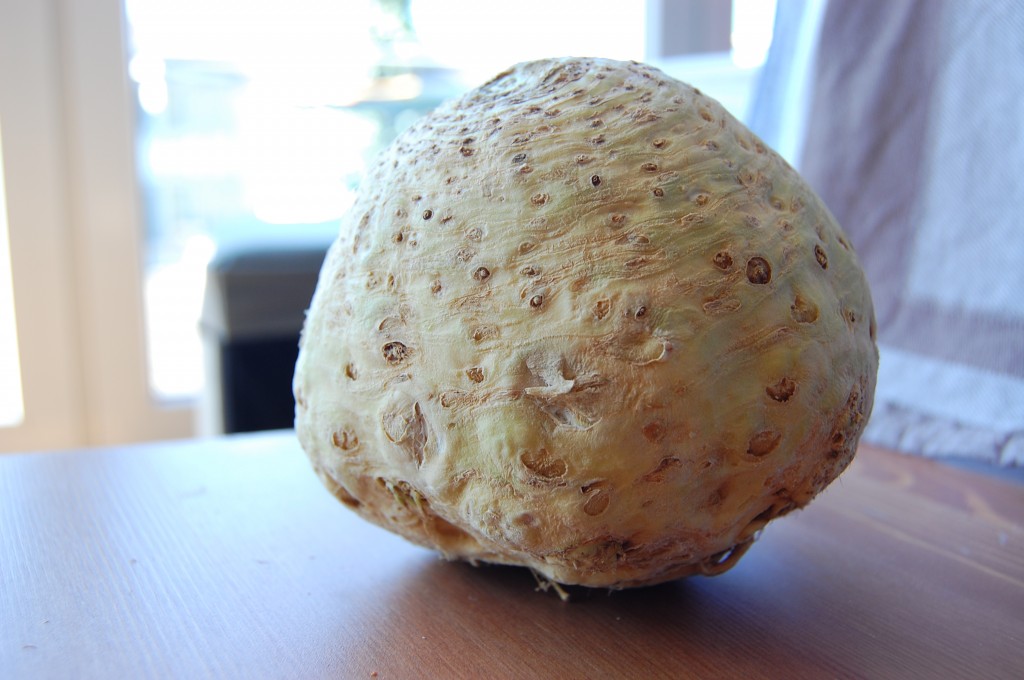
So last year about this time, as I was pursuing my “try new things from the farmer’s market” goal, I bought a celery root. Unfortunately for the celery root, I bought a bunch of other veg on that day as well, so I stowed it away in a cool dark place with the potatoes, assuming it would last for a week or two. But then week three rolled around and it was a bit too far past it’s prime, so I sadly tossed in in the compost.

Now, I did taste celery root for the first time on New Year’s weekend. Eugen had made some mashed celery root (so delicious!) and then two weeks ago we had a celery root salad at the Auberge in Alsace. That was sort of like a French cole-slaw and also super yummy.

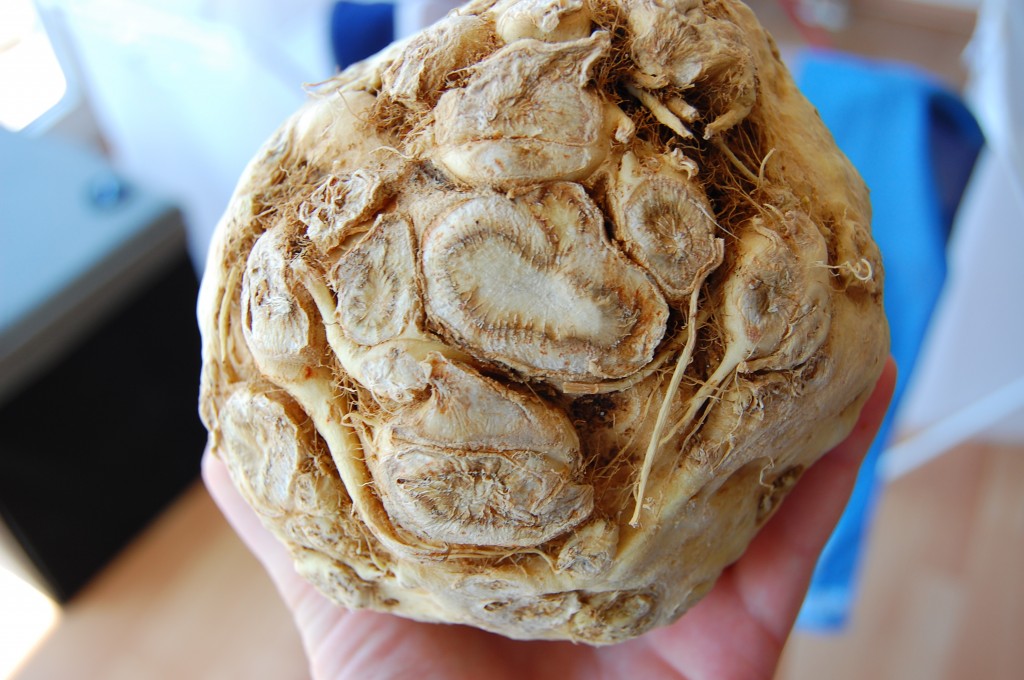
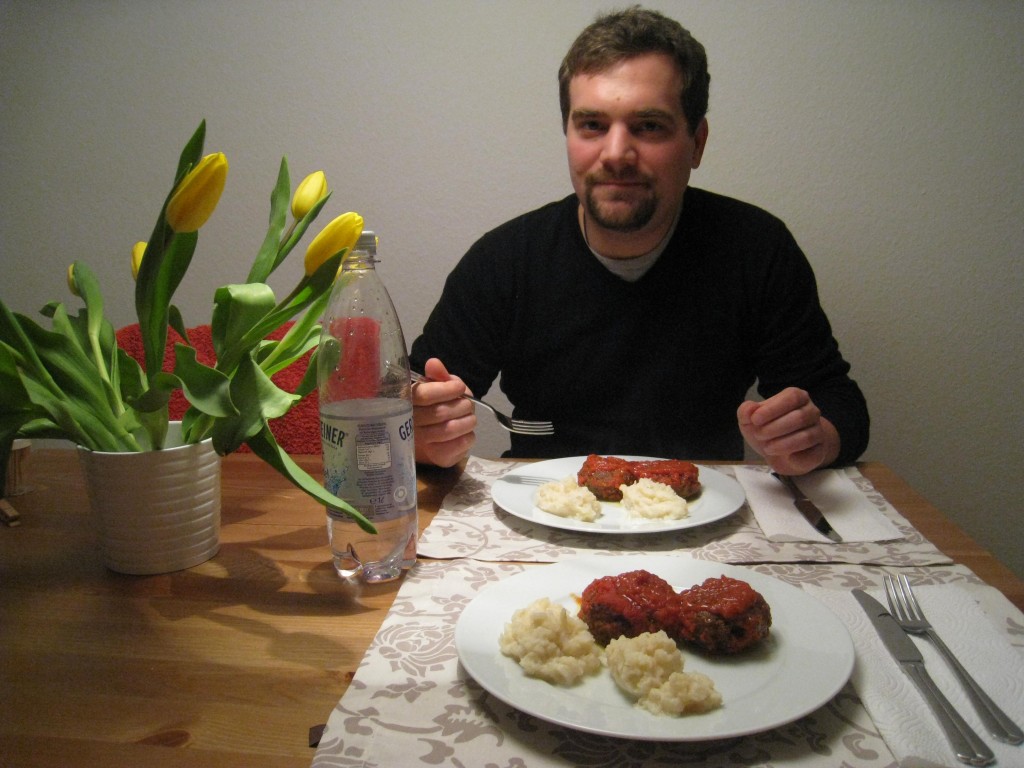
This past Monday we made our own mashed celery root to go with polpetta as an alternative to pasta. Cut off the rough outside and brown knobbies and chop. Boil and then mash up with a bit of milk, salt, and pepper. And don’t forget the secret ingredient.

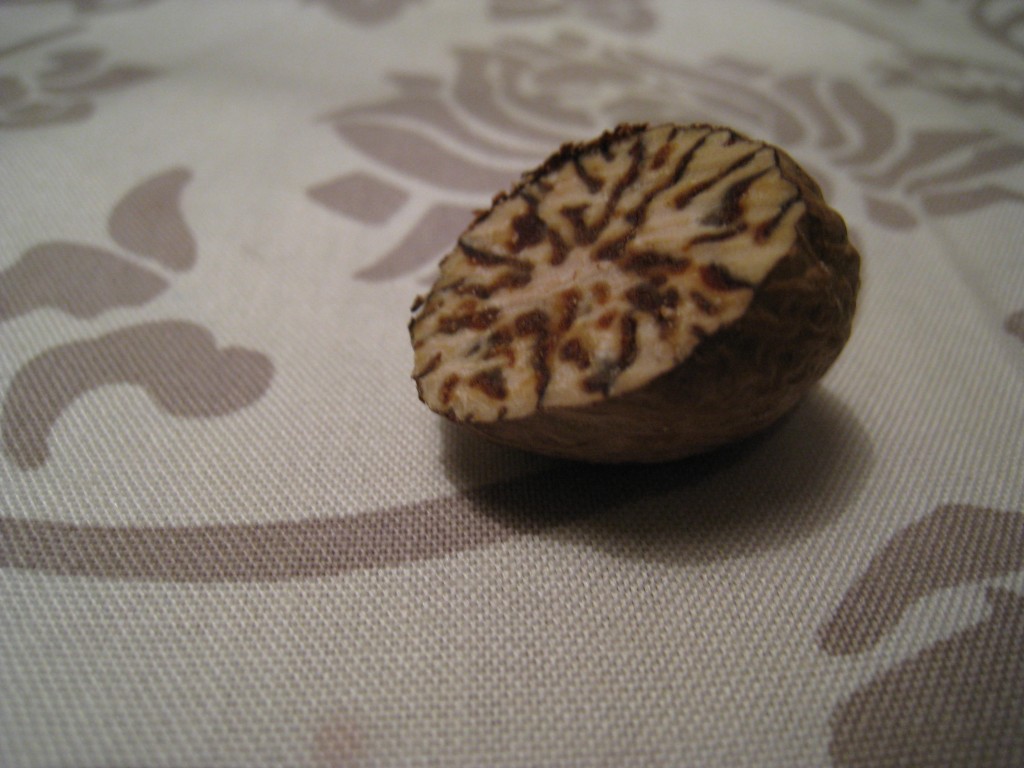
Mugnut! or Megnut or Nutmeg…or whatever that is. Finely grate some in (I imagine a microplane would be perfect, but watch your fingers).

Celery root has a very mild “celery” flavor, and no annoying strings getting stuck in your teeth. A yummy veggie to try. Next time we might do a celery-potato mash to mix things up a bit.

Blanching Almonds


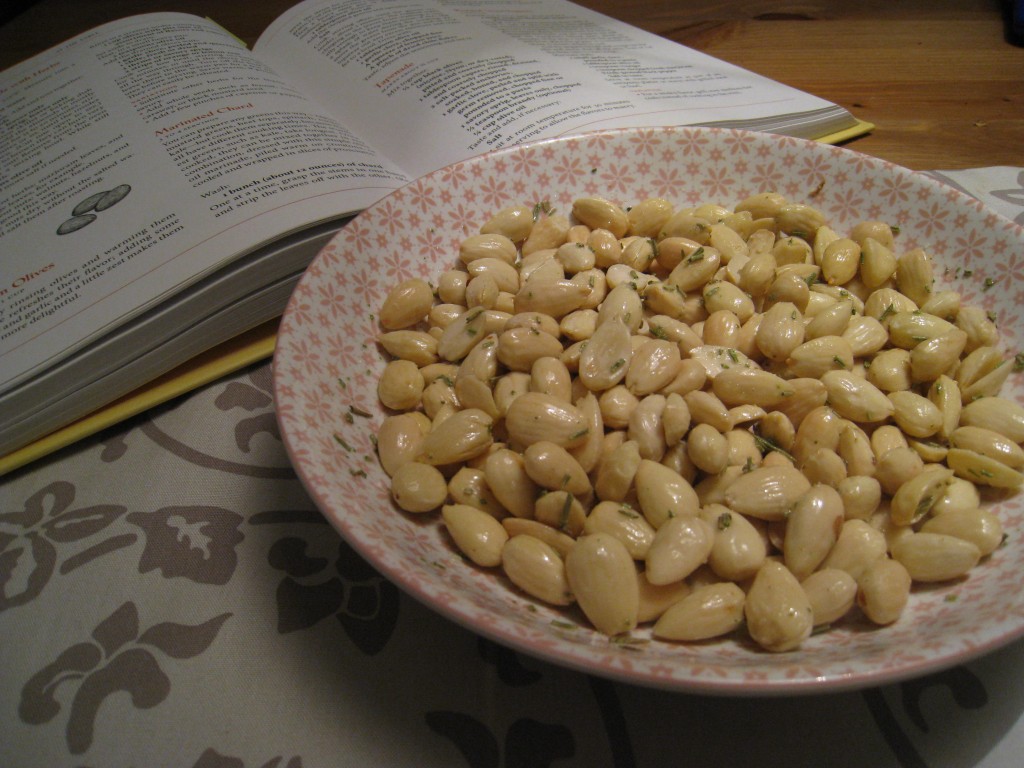
 As you can tell, we have been a bit enthusiastic lately with our new favorite snacky snack – roasted almonds. Last week, I decided to follow mom’s advice and try Alice’s recipe, and use blanched almonds to switch things up. I don’t know about where you buy your almonds, but here in Germany the blanched almonds are more expensive than almonds with skins on. And also considering the fact that I had three more bags of regular almonds in the pantry, I decided to blanch them myself. It was actually really easy, although it did take about 20 minutes to peel a cup of almonds. But it was sort of zen-like and relaxing. Seriously.

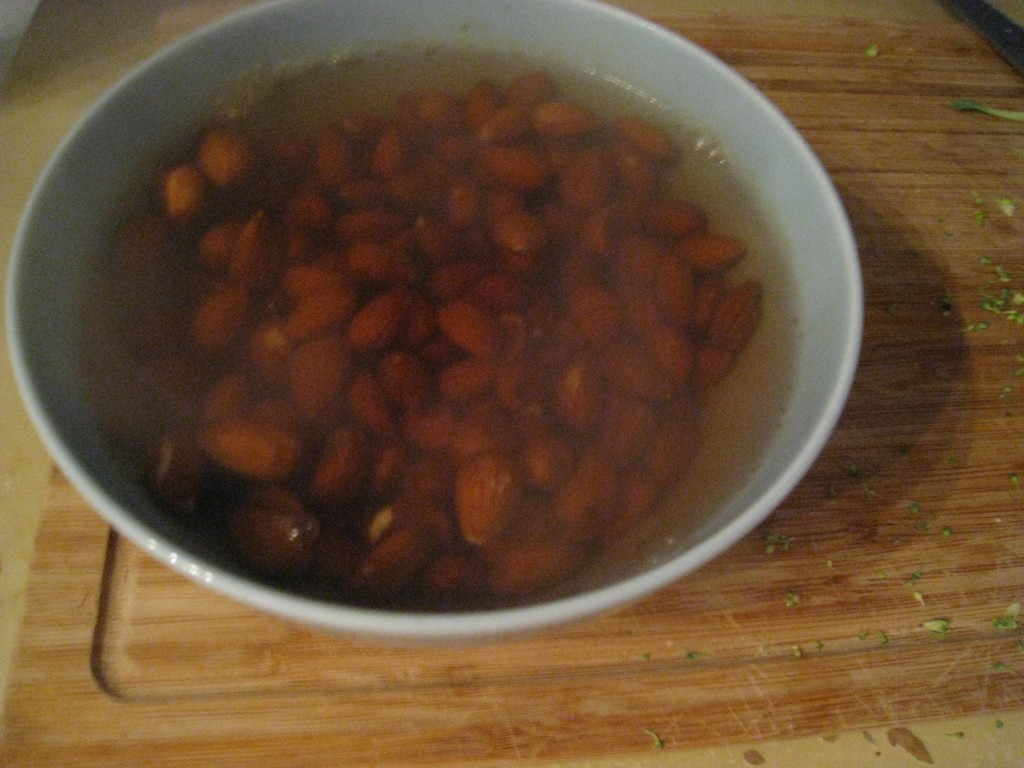
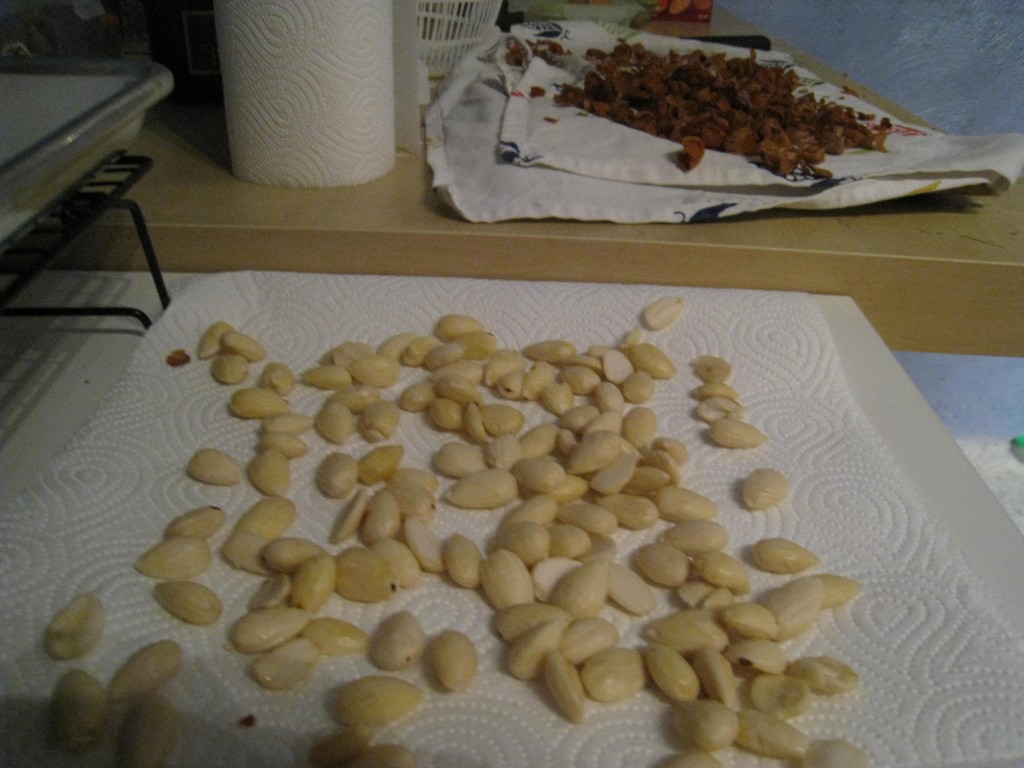
I put my almonds in a bowl, poured boiling water over them, and let them sit for 2 minutes exactly. Then I drained and rinsed them with cold water and spread them on a tea towel to cool.

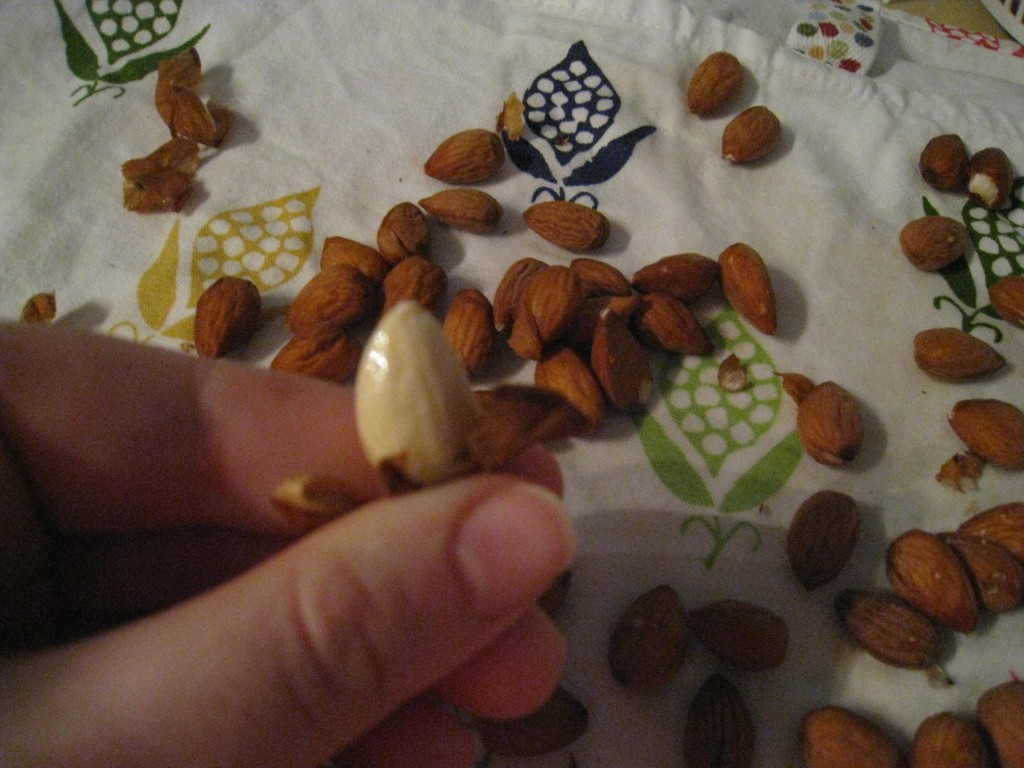
Then I proceeded to peel them. You squeeze them from one end, and they just sort of slip out of the skins. They were slippery little suckers, and at least three escaped and flew across the kitchen.

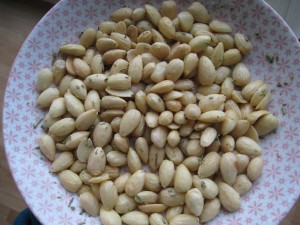
Then, per Alice and Mom, I tossed em with a couple teaspoons of salt water and sprinkled a good tablespoon of chopped rosemary on top. Instead of my usual cookie sheet, I tried roasting them in the ceramic dish. And I was paranoid about “over-toasting” aka burning them, so I think in fact I took them out a few minutes too soon. Once out of the oven, I sprinked on some fleur de sel and 2 tsp olive oil. These were awesome! Not totally crunchy but so yummy! Blanched almonds seem to have a more delicate flavor than regular almonds. Let the experimenting continue!